September 21 2026
 6 min read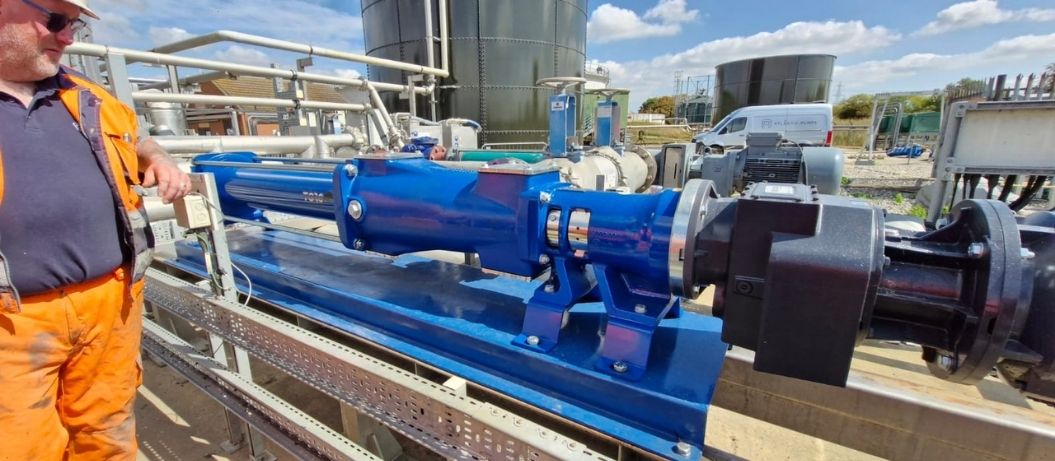
Often, larger industrial pumps are shipped to the site as ready built-up units, with the motor drivetrain connected to pump impeller, and a length of cable already wired into the motor. In the case of Audex submersibles, these usually have a base strainer and lifting rings attached as standard, whereas other types such as large centrifugal, progressive cavity and peristaltic pumps are supplied either on a lifting skid or fitted with bolt-down feet ready for mounting on a prepared foundation.
Although this leaves minimal work (and time) required on site, careful commissioning is required before the pump can be declared operational. The results of a properly commissioned heavy-duty pump are a long-lasting asset, with minimal downtime and efficient productivity. Long-term reliability often comes down to small details, extra checks and final adjustments that begin before the pump is first run. The whole commissioning process can take a few hours to a few days depending on system size and complexity. After confirming results of a test run, it ends with operator training and hand-over.
Pumps and their systems come in all types and sizes, so for specific circumstances please contact Atlantic Pumps. Each install situation will be unique and should be looked at on an individual assessment, taking into account the site and application.
Industrial installs come with risk, which must be assessed and controlled by the client’s site management – no generic article can cover specifics. Our hope for this article is that it serves as a reminder – for the competent, trained fitter and their wider team – that a systematic approach can save a lot of time and money; so here is Part 1 of our guide to pump commissioning.
Pre-arrival checks
For a smooth deployment, use this checklist before the pump unit arrives to site:
1) Civil Engineering & Structural Foundations
Your foundation must be ready to support not just the static mass of the pump, but dynamic torsional loads during start-up and running.
- Base plinths: Verify that concrete plinths are fully cured, level, and cast to the correct height. Confirm the foundation will take the pump’s operating weight.
- Holding bolts: Have the correct chemical resin anchors or mechanical foundation bolts in place, matched precisely to the chassis or frame hole dimensions.
- Vibration isolation: If fitting the unit on anti-vibration rubber pads, confirm the base level is true. Have a set of thin shims ready for final foot levelling.
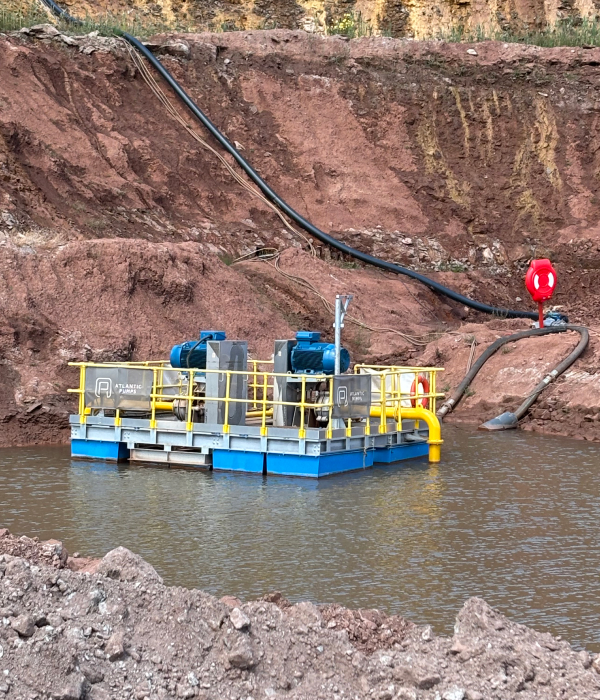
- Submersible wet-well supports: For submerged pumps, ensure guide rail brackets or rated suspension chain supports are already anchored and load-tested. Never allow a submersible to put strain on its discharge hose or power cable.
- Sump floor clearance: If installing a submersible into a lagoon or sump, verify if a pedestal or silt trap is needed so the pump does not rest directly on floor sludge. Most Audex models have an inbuilt strainer/pedestal as standard.
2. Access, Offloading & Heavy Handling
Ahead of pump delivery, check these points:
- Clear transport route: Walk the full delivery path from the offloading bay to the installation footprint. Check overhead clearances (pipe bridges, cable trays) and verify that doorways, walkways, and corridors are wide enough.
- Offloading gear: Check the equipment’s gross delivery weight and ensure appropriately rated, Safe Working Load (SWL) marked lifting equipment (crane, telehandler, gantry, or hoist) is on site and certified.
- Lifting tackle: Provide certified web slings, spreader beams, and shackles. Plan your lifting points on the pump chassis; never wrap chains around drive shafts or motor cowls and be aware of the pump’s centre of gravity. Use the pump’s dedicated lifting points where provided, as these should be positioned to balance the load and prevent twisting of the pumpset.
- Intermediate laydown area: If you cannot place the pump onto its base immediately, prepare a clean storage area protected from weather, contamination and site traffic
3. Safety, Permitting & Risk Assessments
Pumping installations involve combined hazards: heavy lifting, confined spaces, electrical shock, and pressurised fluid lines.
- RAMS: Complete and sign off all site-specific Risk Assessments and Method Statements (RAMS) for lifting, mechanical fitting, and electrical work.
- Work permits: Organise permits in advance (Confined Space Entry for sumps, Hot Work for bracketry modifications, or General Lift Plans). Brief the M&E team.
- Isolation and Lockout/Tagout (LOTO): Verify that upstream supply valves and feed hoppers can be isolated and locked out before connecting into live circuits.
PPE: Ensure all handling and installation crew members have the necessary safety equipment ready, including helmets, high-vis, safety footwear, and heavy-duty work gloves.
4. Technical Documentation Pack
Gather your pump spec sheet, manuals and technical data sheets ahead of time. Ensure a dedicated installation pack is printed and available to the installation team:
- Installation and maintenance manuals: To confirm specific torque settings, oil capacities, and installation tolerances.
- Technical data and spec sheets: Detailing pump dimensions, port orientations, fluid ratings, and dry/wet weights.
- System performance curves: To cross-reference operating flow, head, and duty points during subsequent dry/wet testing.
- Manufacturer general arrangement (GA) drawings: Essential for cross-checking pipe flange centres and bolt pitch circles before the pump is lifted into place.
5. Electrical Infrastructure & Trades Coordination
Connecting a 3-phase pump requires a qualified electrician, unless it is fitted with a plug and no control panel wiring is needed..
- Team assembly: Ensure a licensed electrician is scheduled, familiar with the motor data sheet, and understands the project schedule. Consider who else needs to be involved, such as a mechanical fitter, process manager etc.
- Power supply check: Confirm the local isolator delivers the correct supply voltage, frequency, and phase balance for the motor nameplate.
- Motor protection: Confirm that correctly dimensioned overload protection fuses and motor circuit-breaker switches are sized and ready inside the control panel.
- Local lockable repair switch: Ensure a dedicated secure isolator switch (suitable for AC3 motor starting) is mounted adjacent to the pump installation point for safe maintenance.
- Earthing: Confirm sufficient grounding conductors are in place to dissipate static electricity safely through the motor terminal earth.
- Instrumentation wiring: Check dry-run protection switches, casing temperature sensors (PT-100), or leak detection cables – especially if the unit is operating in an ATEX environment.
6. Connected Plant & Auxiliary Equipment
Confirm which connected equipment the pump manufacturer is supplying and what you will be providing yourself:
- Pipe connections and spool pieces: Have counter-flanges, matching gaskets, studs, nuts, and washers ready to avoid pipework fitting delays.
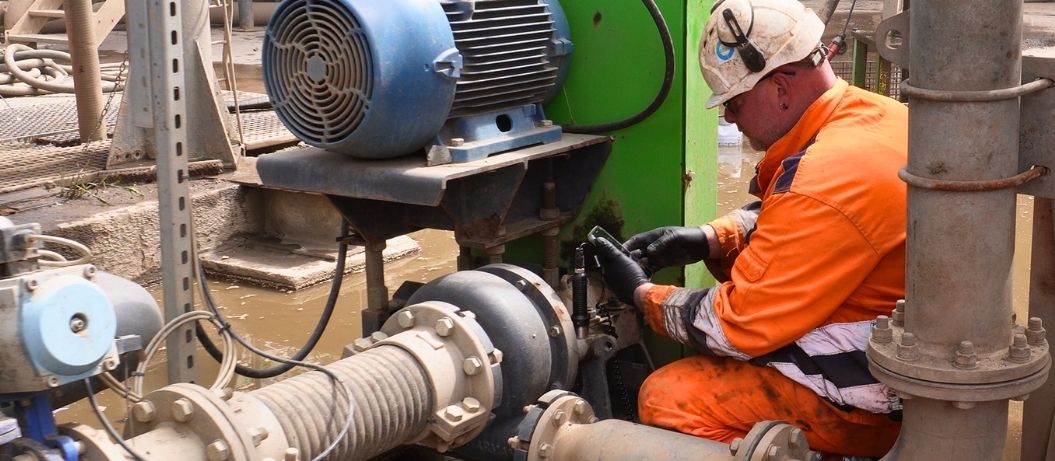
- Flexible joints: Prepare flexible rubber or metallic expansion bellows for suction and discharge connections. A pump must never support the deadweight or thermal strain of connected pipework—pipe strain is the most common cause of mechanical seal failure during initial startup.
- Valving and safety gear: Ensure suction isolation valves, non-return check valves, and calibrated pressure relief/bypass lines (essential for positive displacement pumps) are available.
- Instrumentation ports: Install pressure tapping sockets or gauges on both suction and discharge branches to monitor commissioning baselines.
- Lubricants and fluids: Atlantic Pumps deliver all pumps with the correct lubricants and oil. If in doubt, ask your supplier if you need to order anything extra—whether that is bearing grease, synthetic gear oil or technical-grade glycerol for peristaltic hose lubrication.
Site-Ready for Delivery Day
A structured pre-installation check costs very little time upfront, but it prevents the vast majority of delivery-day delays, abortive crane hires, and costly early-life pump failures. By systematically confirming your civils, handling gear, electrical infrastructure, and auxiliary fittings before the lorry arrives, your team ensures the site is primed for a seamless drop-in.
Once the pump is offloaded and lowered onto its plinth or into the sump, the focus shifts to precision alignment, dry checks, priming, and live startup testing.
Ready for the next stage?
Look out for Part 2: The Step-by-Step Commissioning Day Checklist, where we walk through elimination of pipe strain, uncoupled bump testing, baseline data logging, and final production handover.
Meanwhile, for your industrial pump commissioning needs please reach out to us on 0800 118 2500
We also take a sustainable approach to our work and are committed to reducing energy waste from pumps. Our expert knowledge allows us to reduce energy usage by 20% on the average site!
Call us today on 0800 118 2500 for more information.